The Making of Gluten Free Doughnuts
When you think of boiling oil, does your mind overflow with medieval images of orcs trying to break down a castle gate, while the barbarians inside pour scalding oil down the gutters to protect their home? Well, get that out of your head and instead, think of delicious doughnut pastries!
We have created an easy-to-make and even easier-to-follow step-by-step recipe for gluten free doughnuts. It’s so easy that all you have to do is buy our frozen dough, take it home, and thaw it out in the refrigerator! Well, there’s a bit more to it than that, but it’s so simple and safe that even I can follow it and not end up mutilated, and neither will you.
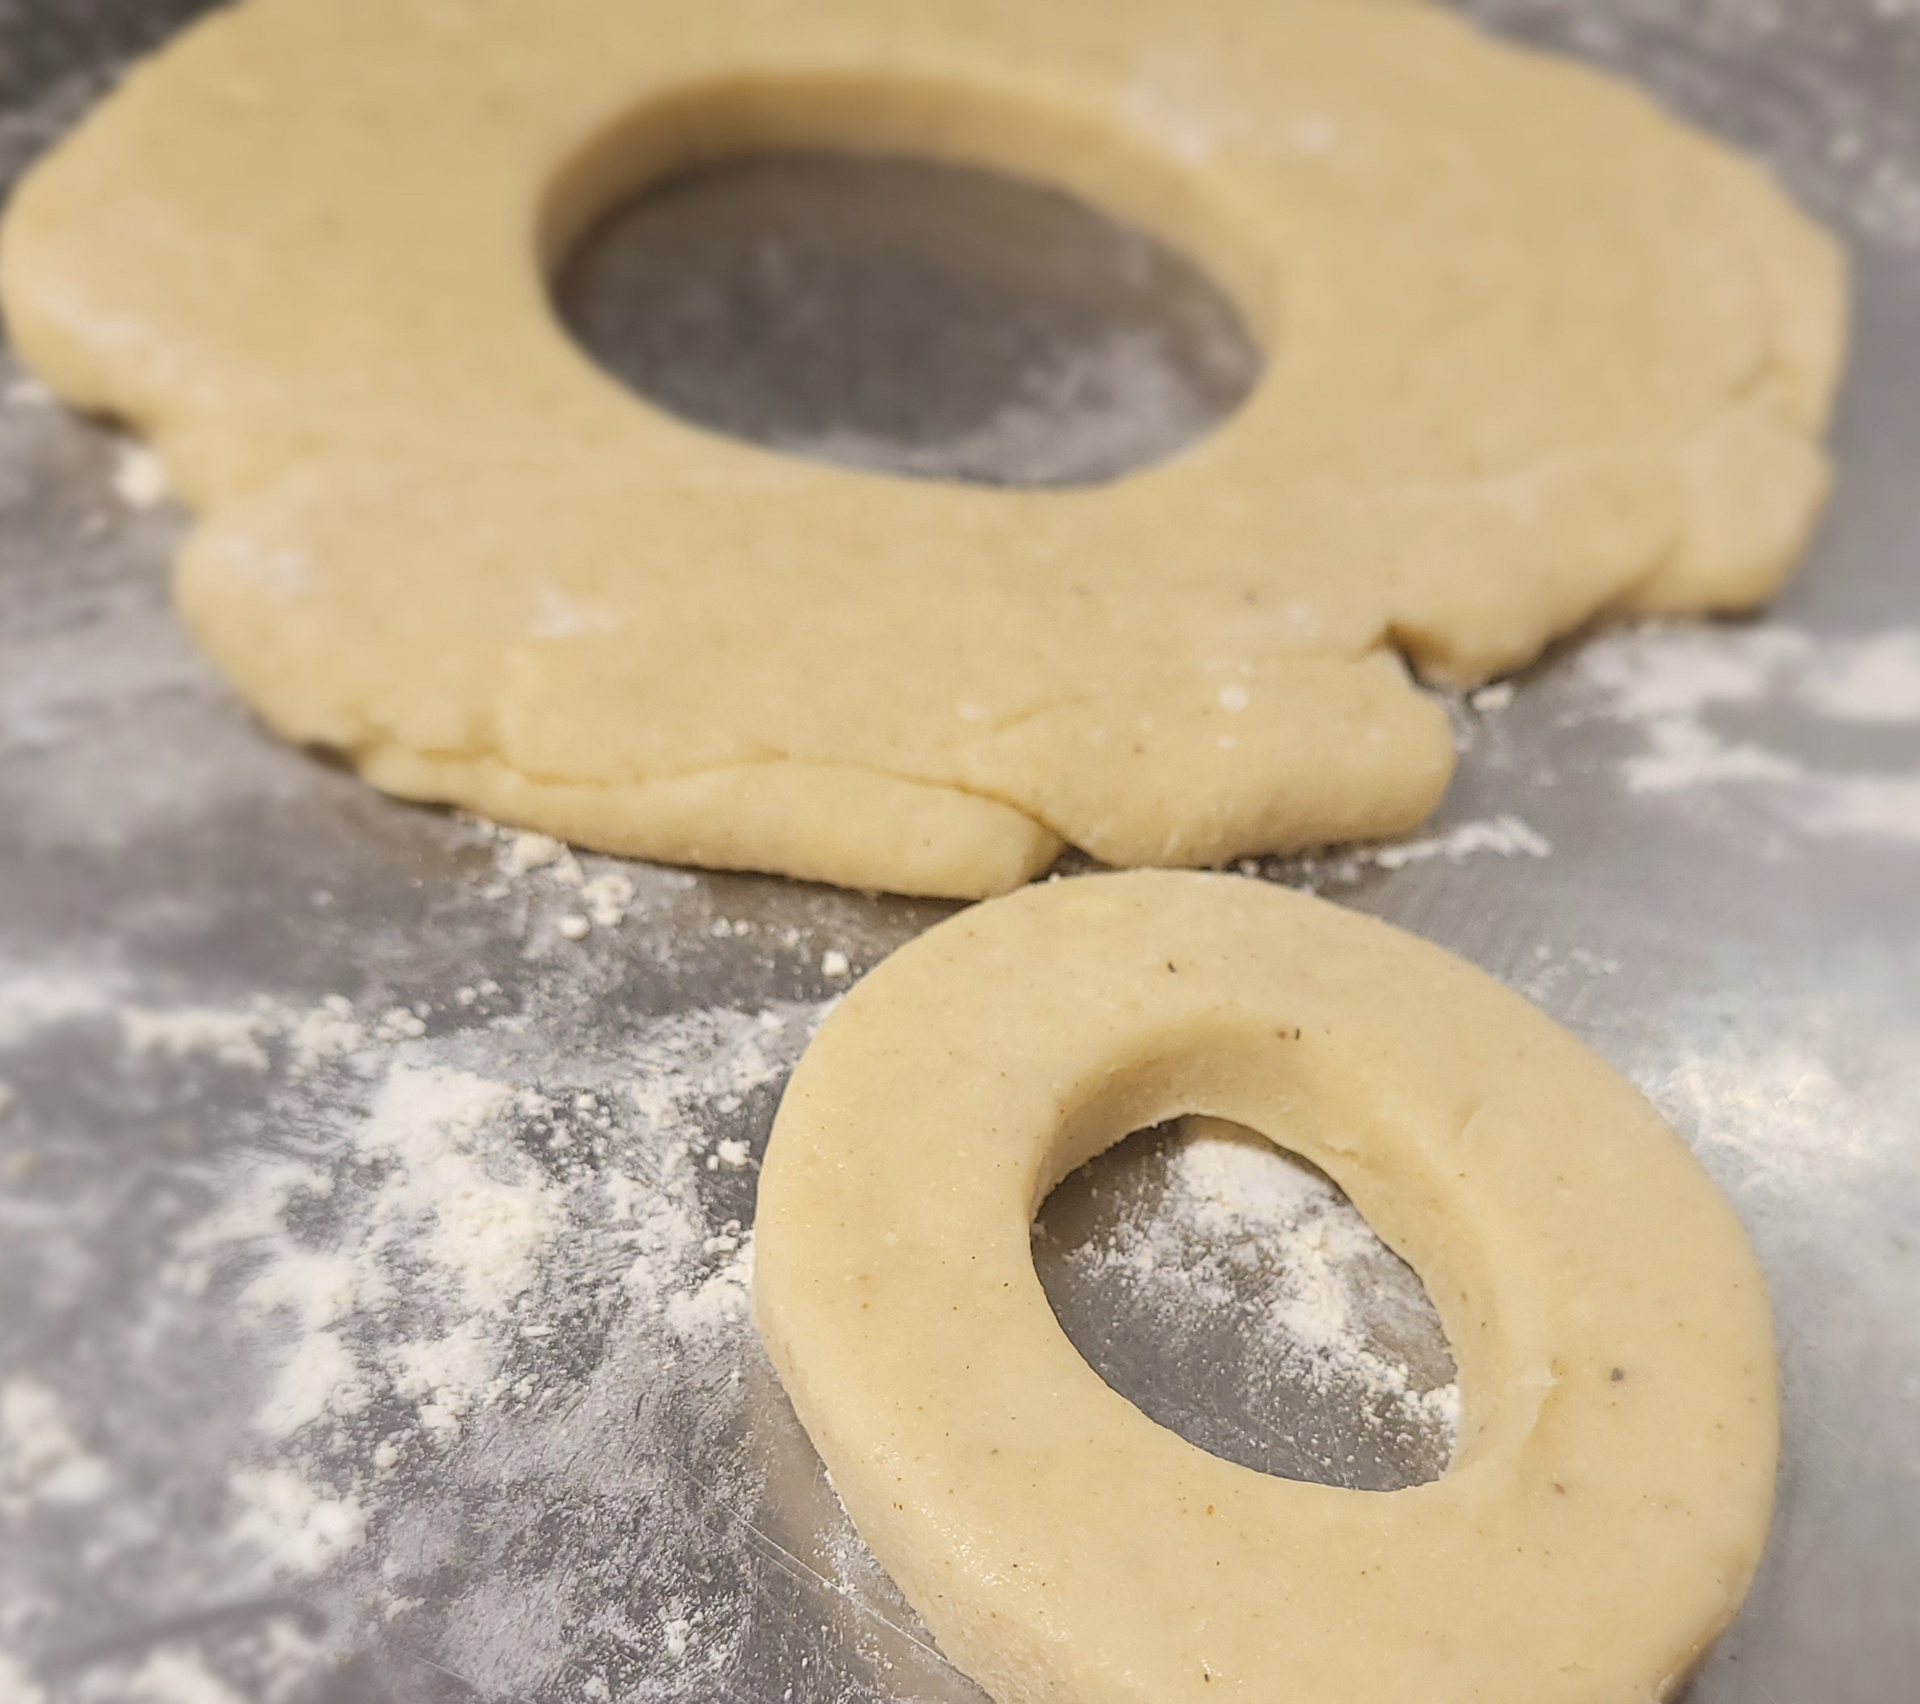

Simply thaw the pastry overnight in your fridge, take it out the next day, and place it on the counter for an hour before using. Dust the counter and roll the dough out to about ¼ of an inch in thickness or about 6mm, for those younger than myself. Here you need a candy thermometer/deep fryer meter which is available on Amazon. I use a medium saucepan with 2 or more inches of vegetable oil in it. The temperature needs to stay between 300 - 340 degrees Fahrenheit, or 150 - 170 Celsius. Any higher than that and you will be making inedible pucks instead of doughnuts!
A hot tip, or in this case a “just the right temperature” tip: Try using the medium heat setting.
It works best on my oven, so I recommend you give it a try too!
Of course, you can skip much of the above instructions if you have a deep fryer on hand. But then, really, where is the adventure?
We also had good luck baking the dough in the oven but you would need a doughnut mold, we did not have any luck with an Air fryer.
Next, after you roll the dough out, cut your doughnuts with a 3-inch cookie cutter, or a large cookie cutter say 4-inches but I find them harder to flip. Use a spatula to place the doughnuts in the oil gently; the less oil splashed, the better!
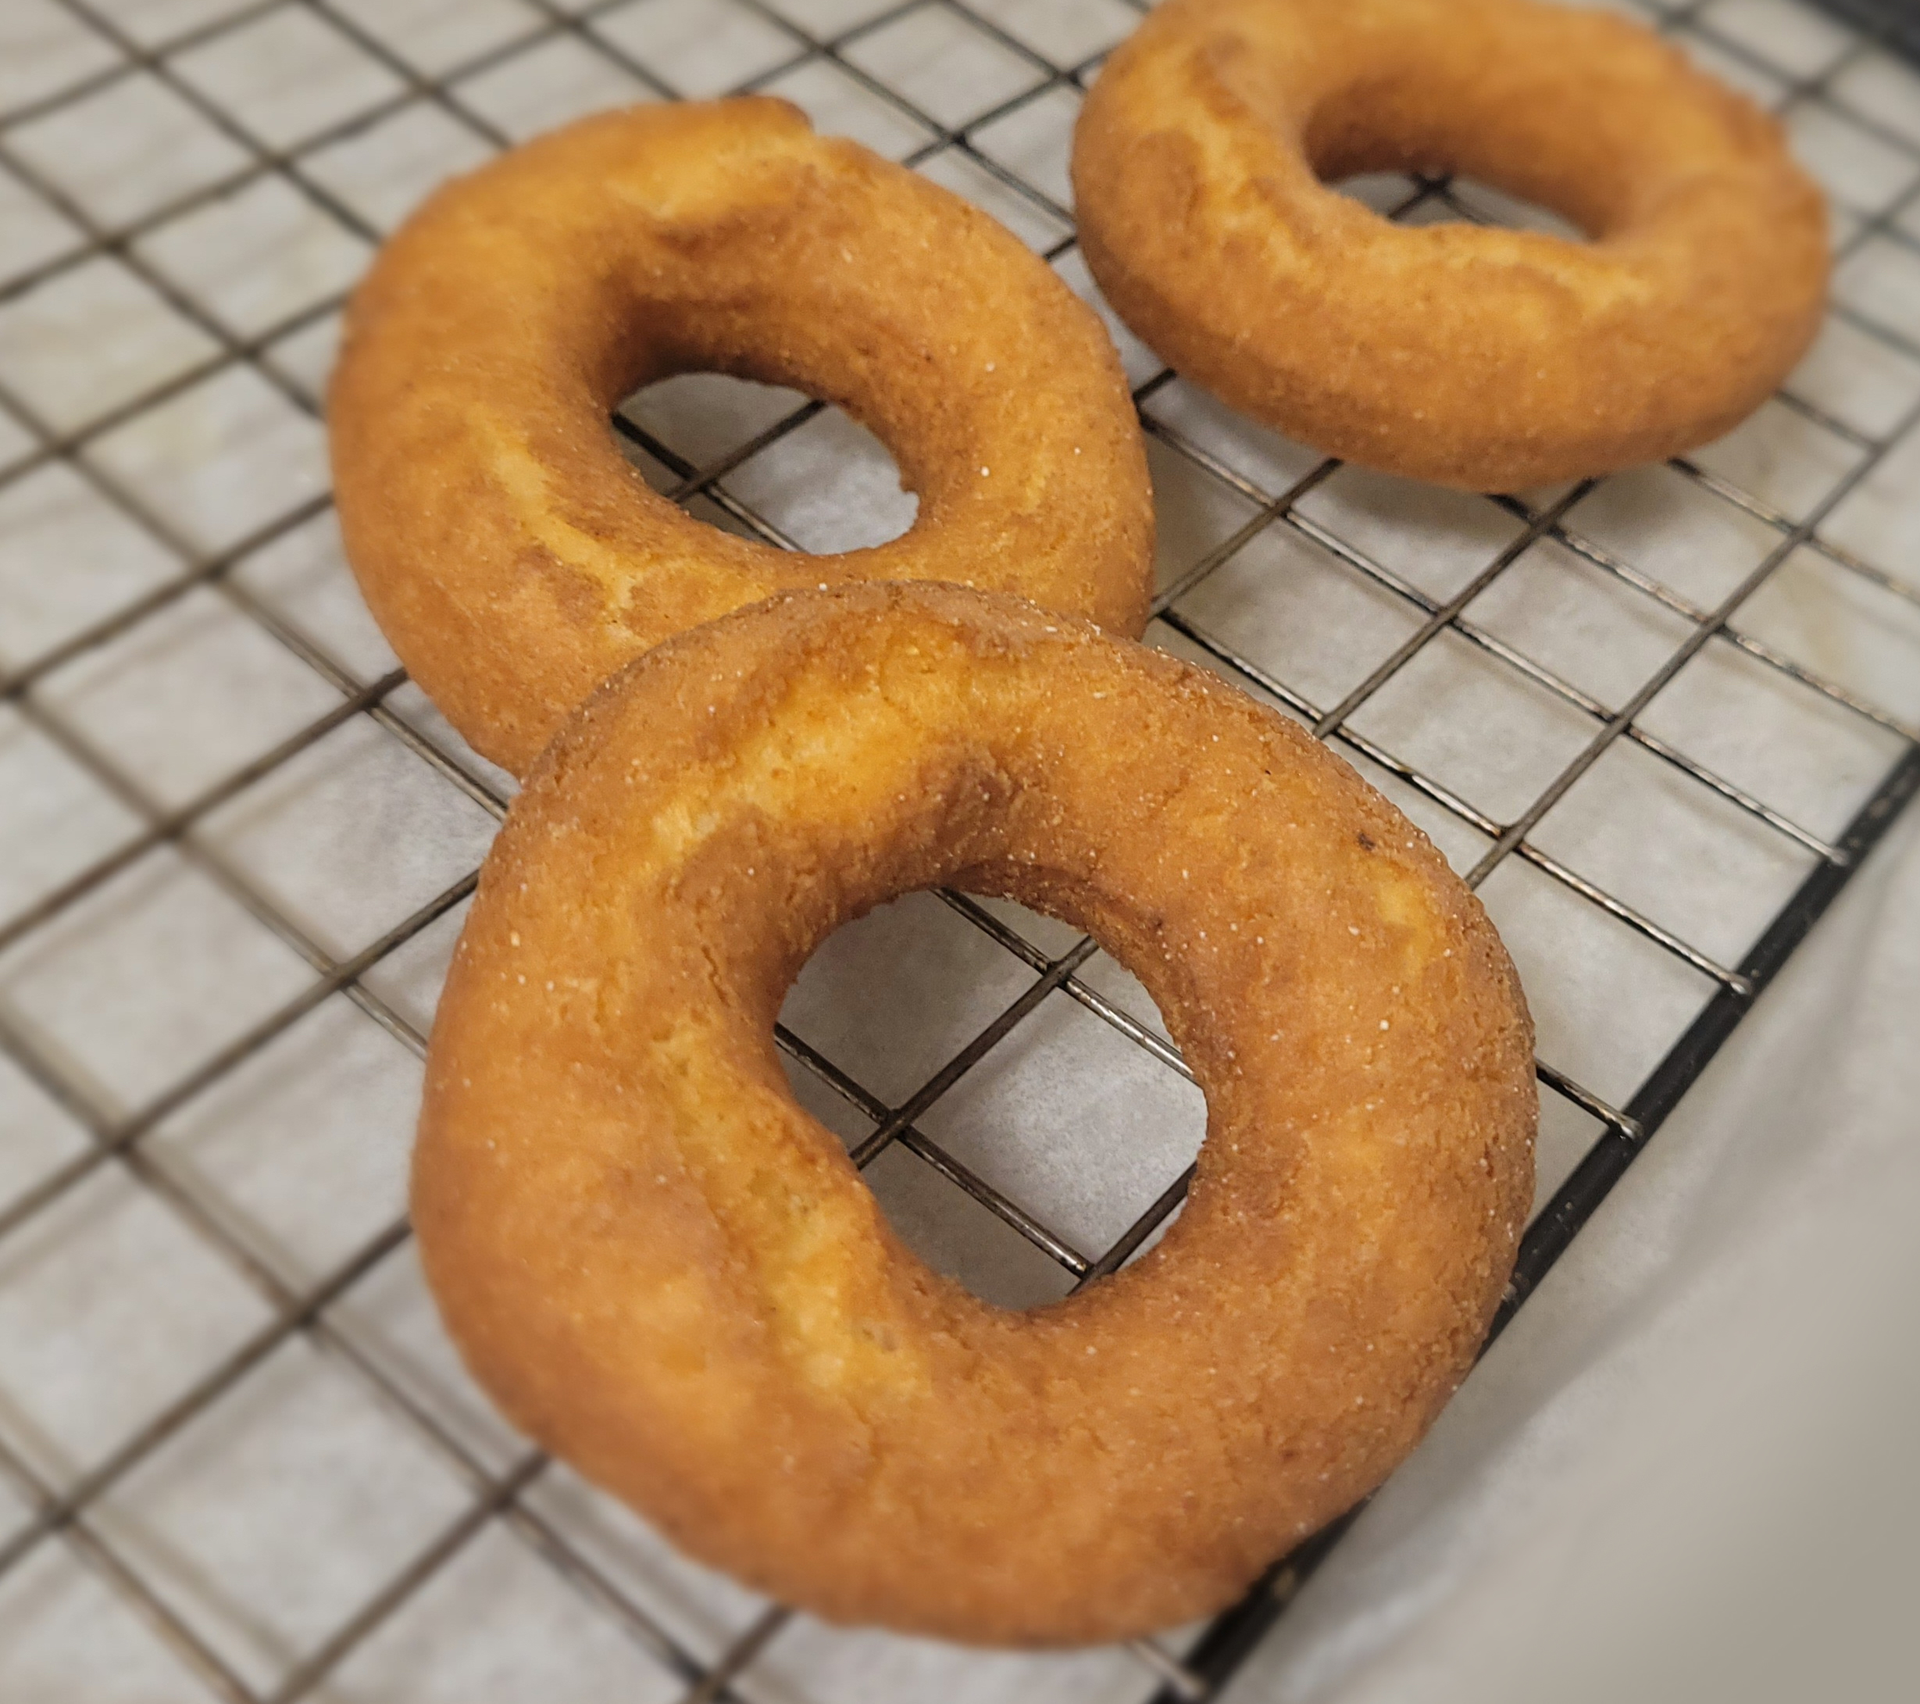
Sticking with my saucepan cooking instructions, bring the temperature to let us say 320F, my medium saucepan can do 2 or 3 doughnuts at a time. After about 40 or 50 seconds, turn them over. Pro tip, use a wooden chop stick to flip them and when you do this, they should be turning a golden brown. Leave them for another 30 seconds before you take them out. You’ll know they’re done because they will have a crackled top.
Cool these baddies down and get ready to let your creative juices flow. Flavor them in any way that you can think of, but I recommend dipping them in melted chocolate or using a honey glaze.
For those with an adventurous soul, we sell a dry mix. While it’s not as easy as the frozen mix, it’s not rocket science. Here are the instructions for the dry mix. Sift flour before using, cut in 2tbs of cold butter. Add 2 egg yolks, ½ cup + 2tbs sour cream and mix well. Roll into balls, wrap in parchment paper, and chill in the fridge for 2 hours. Dust the counter and roll out to ¼ inch thick, cut with 3-inch doughnut cutters. Deep fry both sides until golden brown. Cool on a rack and flavor as desired. Melted chocolate or honey glaze are time-tested favorites!
Happy Frying!